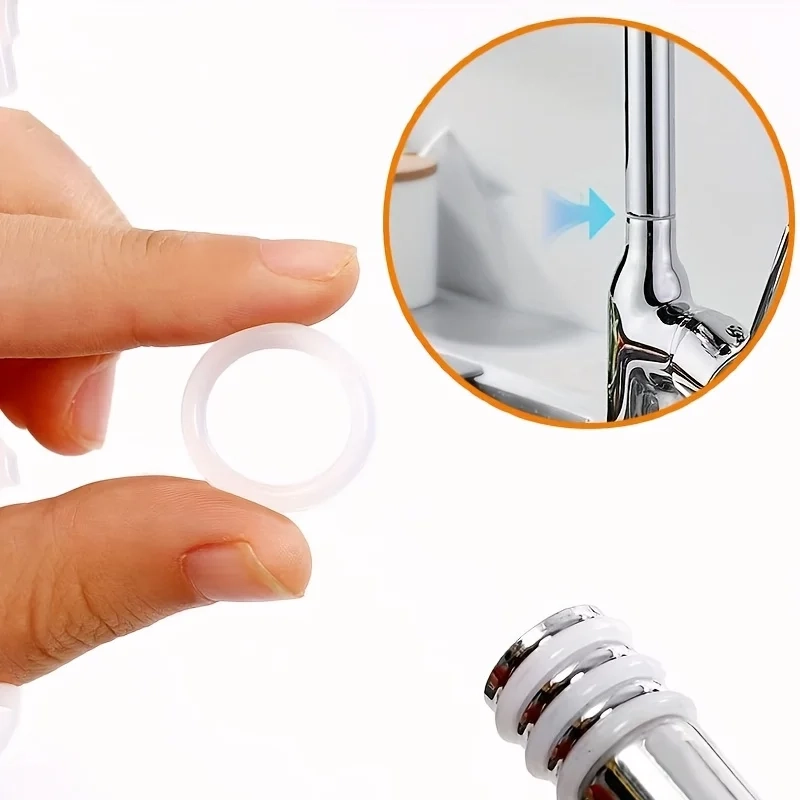
Thinking about resealing your shower faucet or upgrading the trim to stop leaks and mold buildup? At Neosilicone we make and supply custom silicone valves and sealing components, and we also help OEMs and installers with practical, production-grade advice. Below is a clear, step-by-step guide to sealing a shower faucet with silicone — written from the perspective of a manufacturer who understands both field repairs and factory-grade materials.
Gather the Necessary Tools and Materials
Before you start, collect everything so the job goes smoothly:
- 100% mildew-resistant bathroom silicone (RTV, labeled for tubs/showers)
- Caulking gun (with smooth-feed if possible)
- Utility knife or silicone remover tool
- Masking tape (painter’s tape)
- Isopropyl alcohol (or denatured alcohol) and lint-free rag
- Small disposable cup of soapy water and a small brush or silicone finishing tool
- Gloves and safety glasses
- Plastic spatula or rounded screwdriver for tooling
- Paper towels and a bucket for cleanup
Tip: Choose a high-quality 100% silicone sealant — not acrylic or silicone-blend caulks — for long life in wet environments. Look for products labeled for continuous water contact and mildew resistance.
Prepare the Shower Area for Siliconing
- Turn off water to the valve if you’ll be removing trim pieces.
- Remove loose debris and wipe the area dry. Silicone adheres best to clean, dry surfaces.
- Use painter’s tape to mask the edges of tiles, the faucet escutcheon, or the shower base so you get a straight, professional bead. Leaving a 1⁄8–1⁄4″ gap for the seal is common.
Remove Old Silicone and Clean the Surface
- Carefully cut away existing caulk with a utility knife or silicone remover tool. Work slowly to avoid scratching chrome or tile.
- Peel the bulk away, then use a small scraper if needed.
- Wipe the joint with isopropyl alcohol to remove oils and residue; allow to evaporate completely. For stubborn mold or mildew, use a bleach solution first, rinse, dry, then finish with alcohol.
Note: If old silicone is bonded tightly, a commercial silicone remover accelerant may help — follow the manufacturer’s safety instructions.
Cut the Silicone Tube and Load the Caulking Gun
- Cut the nozzle of the silicone tube at a 45° angle to the bead size you need. Start small; you can always enlarge the opening.
- Puncture the inner seal with a long nail or the puncture tool on the caulk gun.
- Load the tube into the gun, tighten the plunger, and test-dispense onto a cardboard scrap to ensure an even flow.

Apply Silicone Evenly Along the Joints
- Hold the gun at a 45° angle and dispense a continuous bead along the joint — steady, controlled pressure gives a uniform bead.
- Keep the gun moving; stop-start motion creates blobs and uneven finish.
- For faucet escutcheons and trim, run the bead at the seam between fitting and tile or wall, not across visible chrome finishes unless recommended.
Smooth the Silicone for a Clean Finish
- Immediately tool the bead while the silicone is still wet. Dip your finger in the soapy water and glide it over the bead, or use a plastic finishing tool for consistent radius.
- Remove masking tape before the silicone skins over to avoid pulling cured silicone.
- Wipe excess with a cloth dampened with soapy water; cured silicone is much harder to remove.
Pro tip: Using a soapy-water mixture (a few drops of dish soap in a cup) prevents the silicone from sticking to your finger and yields a professional finish.
Allow Silicone to Cure Properly Before Use
- Follow the manufacturer’s cure schedule. Typical skin-over times are 20–60 minutes, but full cure takes 24–48 hours depending on bead size, humidity, and temperature.
- Avoid heavy use or water spray against the new seal until it is fully cured to prevent adhesion failure.
- Ensure the bathroom is well ventilated during curing to reduce odors.
Frequently Asked Questions
Can I Use Silicone in Other Areas Besides the Shower?
Yes — the same 100% silicone is suitable for sinks, tubs, and many plumbing joints. Use the product labeled for the intended use (potable-water rated when required).
How Long Does Silicone Typically Last in a Shower?
High-quality bathroom silicone usually lasts 5–10 years depending on exposure, cleaning chemicals, and movement. Regular inspection helps detect failure early.
Is Silicone Waterproof Immediately After Application?
No. While silicone forms a surface skin quickly, it is not fully waterproof until it cures (see cure times above). Avoid spraying or immersing until fully cured.
Can I Paint Over Silicone Once It’s Cured?
Most silicones do not accept paint. If you need a painted look, use paintable caulks (acrylic) in dry areas. For shower applications, prefer silicone and accept the exposed finish or use trim covers.
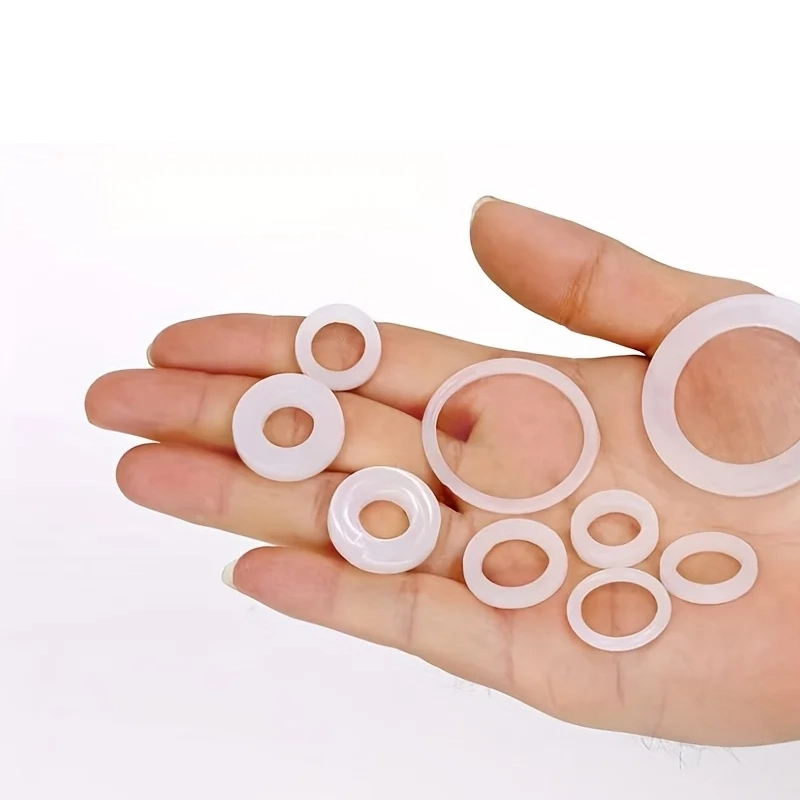
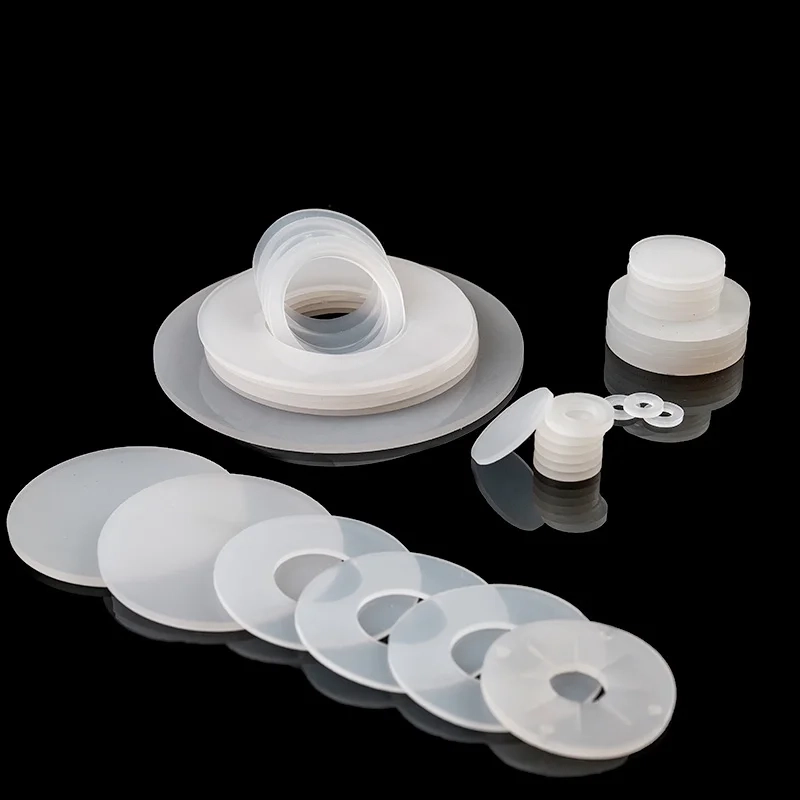
Can I Custom My Silicone Valves In Your Factory?
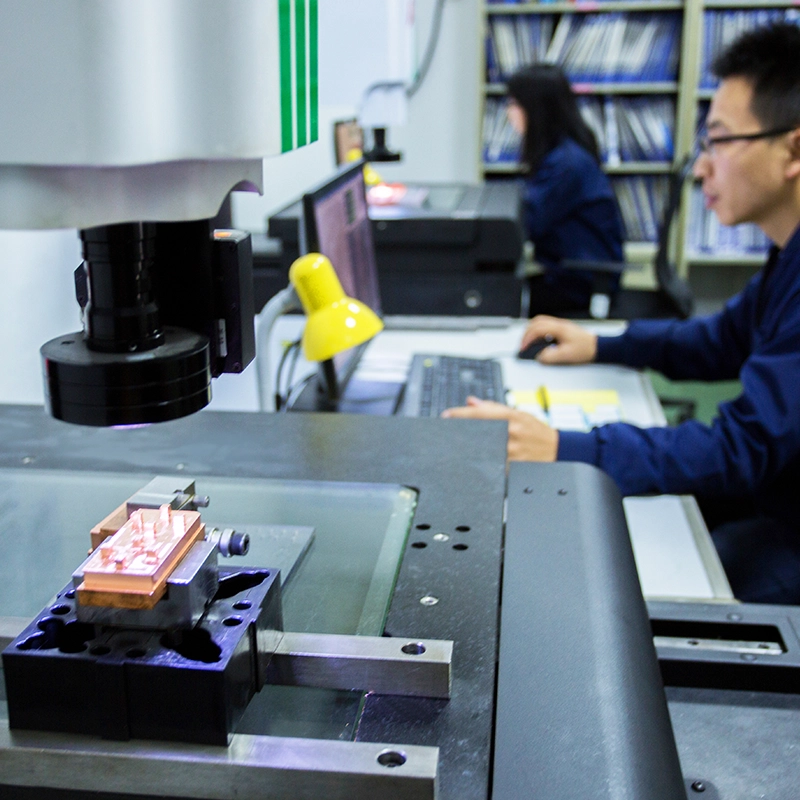
Yes. Neosilicone offers custom service and can manufacture custom silicone valves and gaskets for OEMs and installers. We provide tooling, material certification, and batch traceability for production or retrofit programs.
What’s the Difference Between Silicone and Acrylic Caulk?
Silicone is flexible, waterproof, and mildew resistant — ideal for wet areas. Acrylic is paintable and easier to tool, but it lacks long-term water resistance in constantly wet environments.

Conclusion
Sealing a shower faucet with the right silicone and technique is a straightforward way to stop leaks, prevent mold, and restore a neat finish. Use 100% mildew-resistant silicone, clean and dry the joint thoroughly, apply a smooth bead with even pressure, tool immediately, and allow full cure before use.
If you need production-grade parts or a custom sealing solution, Neosilicone — a trusted manufacturer and factory — provides tailored silicone valves and seal components with full OEM support. Contact us with your trim details or part drawing; our custom service team will advise on materials, propose a manufacturable design, and offer prototyping and volume production options.